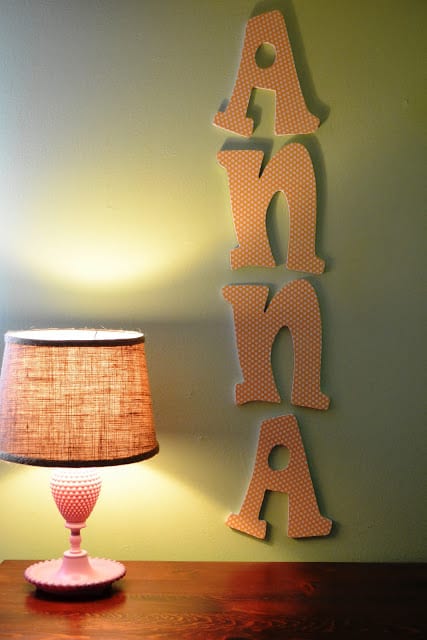
How to Make Wooden Letters With Scrapbook Paper

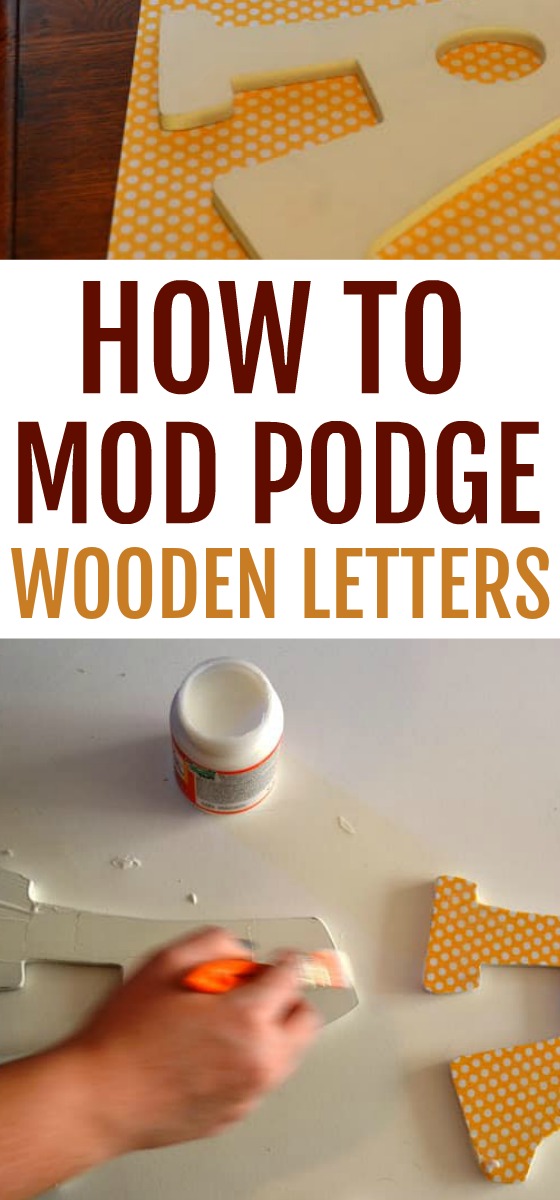
Learn how to easily Mod Podge wooden letters with scrapbook paper using this quick and easy tutorial.
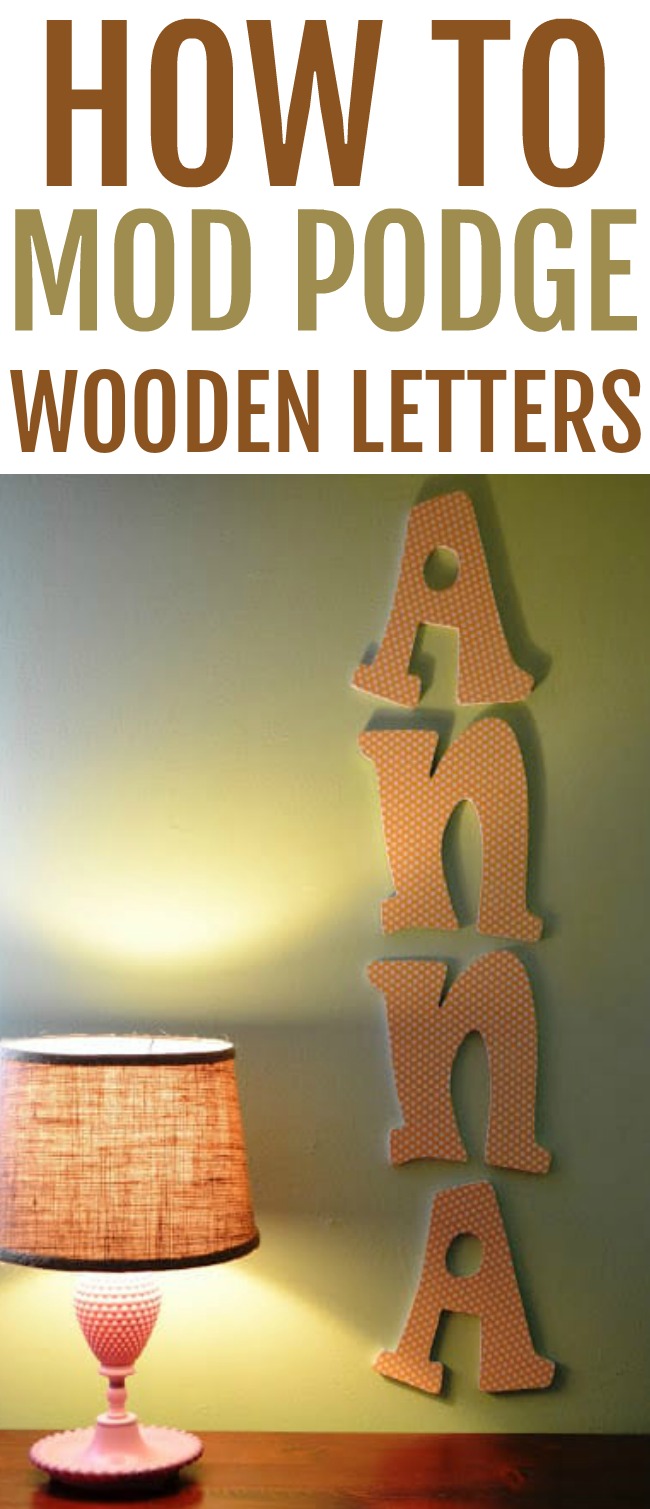
A great gift-giving idea for nurseries or kids' rooms.
This post contains affiliate links.
If you have ever used Mod Podge before, which I'm sure a lot of you have, then you know how it works.
For those of you that have not, here is a quick how-to tutorial using wooden letters.
Let me also just say Mod Podge can be addicting, like a kid who wants to glue everything in Kindergarten. Fair warning!
Mod Podge Wooden Letter Supplies
- Wooden Letter or Letters
- Mod Podge
I used gloss finish but they have matte, antique, ones for fabric, glitter, etc.
There are so many options of Mod Podge available for use. You can just pick your favorite but for this project, I would recommend a matte or gloss finish.
- Sponge Brush
I used a craft bristled brush simply because I didn't have a sponge one available.
I definitely suggest using a sponge brush over a bristle brush. You will have a much smoother finish.
- Scrapbook Paper
- Craft Knife or Scissors
If you use scissors then you will probably at least need a craft knife for harder to reach areas. For example, cutting around the corners of an N or the center of an A.
- Sandpaper
How to Mod Podge Wooden Letters
Start by tracing the letter onto your scrapbook paper.
NOTE: If you plan to trace onto the back of your paper remember to reverse your letter otherwise you will have to start all over because when you flip the paper it won't be lined up.
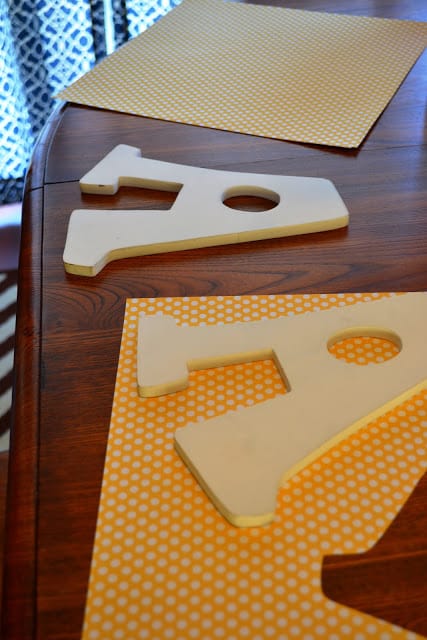
Once you have the letter or letters traced then you are going to cut them or trim them with your knife.
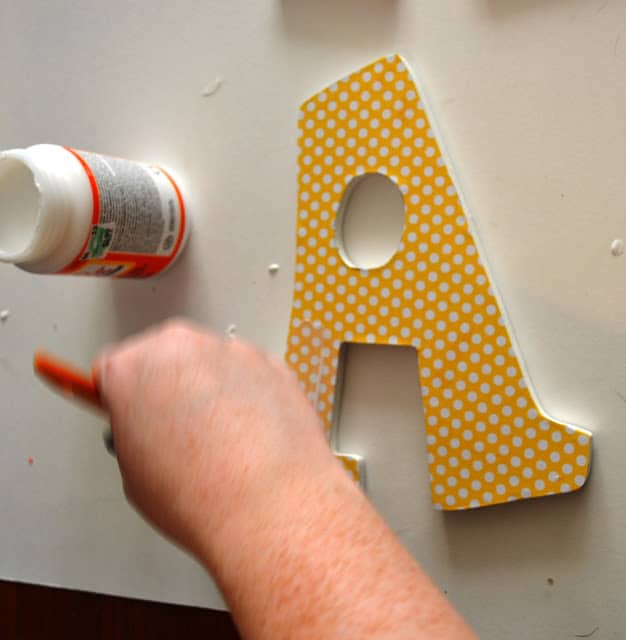
After all your pieces are ready you will want to spread a layer of mod podge onto your entire letter.
I recommend doing only one letter at a time.
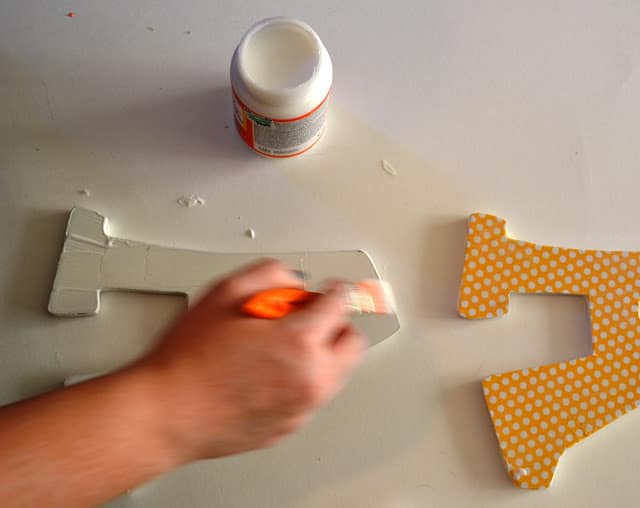
Place the scrapbook paper letter on top, line up all the edges and press down firmly.
If you find that you have any bubbles you can just smooth them out with your fingers.
At this point, you can allow your letter to dry, but I always like to put a layer of Mod Podge on top to seal and protect.
Then it's just a waiting game to allow all of your individual letters to dry.
Once the letters are fully dry, you can take your sandpaper and sand the edge gently for a finished look.
If you find that your scrapbook paper hung over too much flip the letter over and use your knife to trim any edges.
You can also coat with an additional sealer to rid of any tacky feel that the Mod Podge tends to have once dried.
Does Mod Podge work on wood?
Yes! These letters are made of wood. Almost any surface can be used to create a decoupage project, other suitable surfaces include papier-mache, tin, cardboard, and glass.
One surface you have to be careful with is plastic. Test a small area if you are unsure.
Is Mod Podge waterproof?
No, it's not totally waterproof. They do have an outdoor formula that is water-resistant but again not entirely waterproof. If you want to make your project waterproof, I recommend a clear, outdoor acrylic sealer to protect your project.
If you enjoy mod podge projects be sure to check out these other posts as well.
- How to Mod Podge Picture Frames
- DIY Mod Podge Tile Coasters
- DIY Glitter Vase
- DIY Mod Podge Cookies for Santa Tray
- DIY Halloween Luminaries
- How to Make Wooden Signs Using Various Techniques
- Mod Podge Formulas and How they look
Want to print these tutorial instructions on how to mod podge wooden letters?
Materials
- Wooden Letter or Letters
- Mod Podge
- Scrapbook Paper
Tools
- Craft Knife or Scissors
- Sponge Brush
Instructions
- Start by tracing the letter onto your scrapbook paper. See note before tracing!
- Once you have the letter or letters traced then you are going to cut them or trim them with your knife.
- After all your pieces are ready you will want to spread a layer of mod podge onto your entire letter.
- Place the scrapbook paper letter on top, line up all the edges and press down firmly. If you find that you have any bubbles you can just smooth them out with your fingers.
- At this point, you can allow your letter to dry, but I always like to put a layer of Mod Podge on top to seal and protect.
- Then it's just a waiting game to allow all of your individual letters to dry. Once the letters are fully dry, you can take your sandpaper and sand the edge gently for a finished look. If you find that your scrapbook paper hung over to much flip the letter over and use your knife to trim any edges.You can also coat with an additional sealer to rid of any tacky feel that the Mod Podge tends to have once dried.
Notes
If you plan to trace onto the back of your paper remember to reverse your letter otherwise you will have to start all over because when you flip the paper it won't be lined up.
How to Make Wooden Letters With Scrapbook Paper
Source: https://todayscreativeideas.com/diy-mod-podge-and-wooden-letters/
0 Response to "How to Make Wooden Letters With Scrapbook Paper"
Post a Comment