How to Make a Origami Dinosaur Velociraptor
The origami bird base opens up a whole collection of great models to you. The bird base gets its name from the traditional crane, but let's use it to create a very modern design, a great little paper dinosaur. If you're a dinosaur fan, this is probably more of an origami velociraptor.
Instructions
Step 1
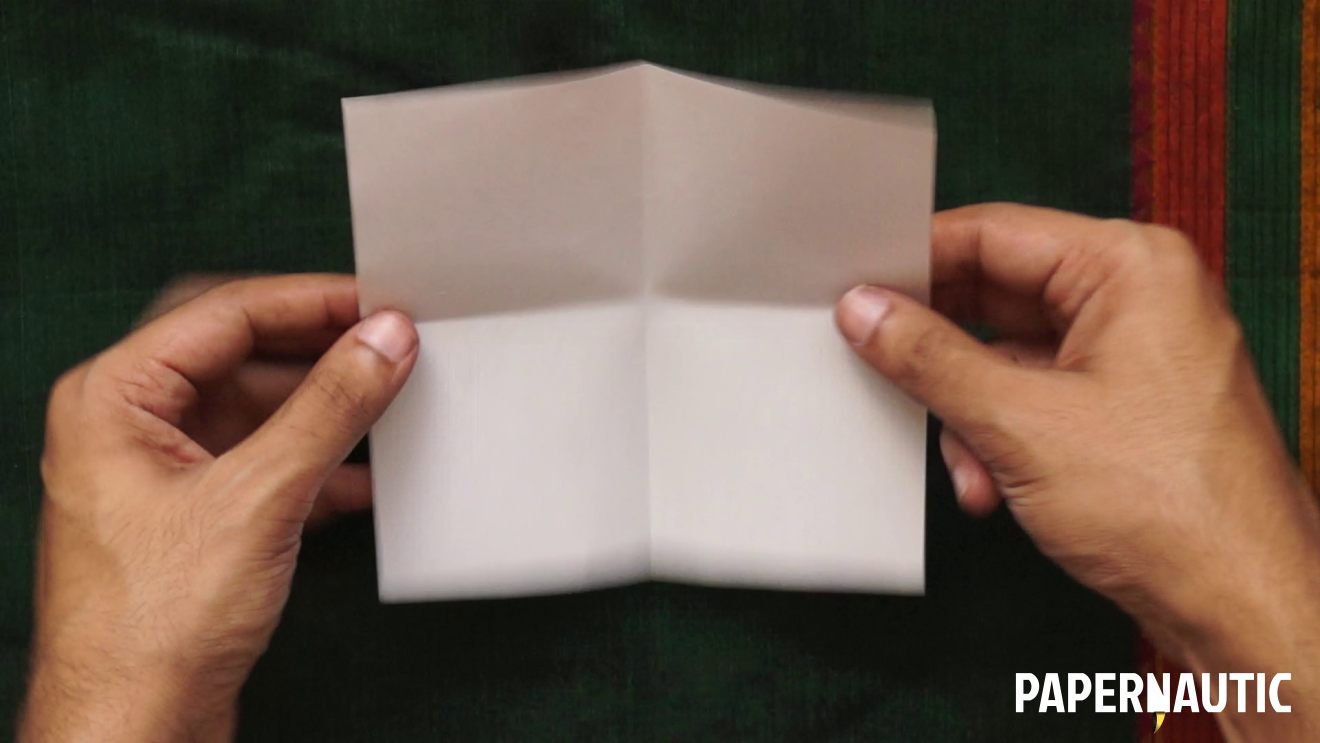
Start with a square paper, colour-side down. Fold the sheet in half along both a vertical and a horizontal line. Unfold to create these cross creases.
Step 2
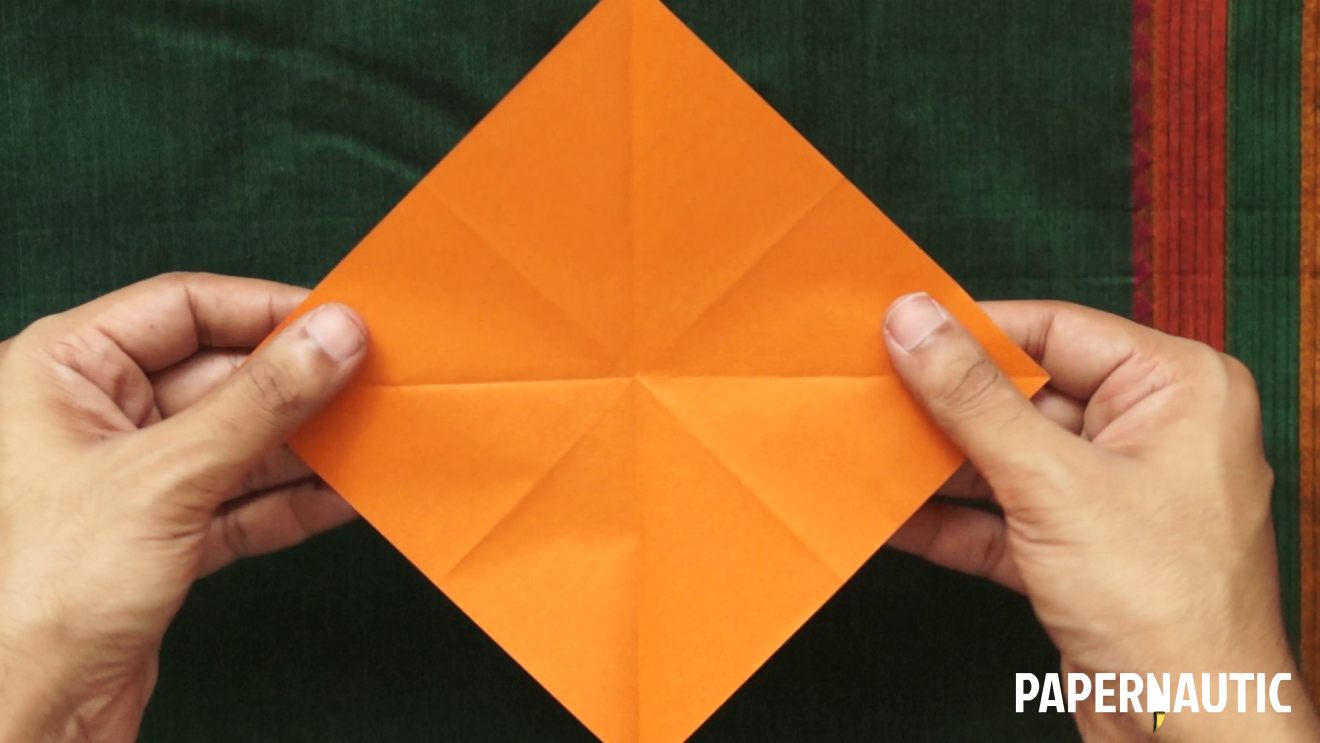
Flip it over so the colour-side is facing up, and fold along the two diagonals of the square. Unfold it flat.
Step 3

With the colour-side on the outside, use the creases you've created to collapse the model into this diamond shaped form with four lobes.
Step 4

With the loose flaps of the shape pointing down towards you, fold one of the bottom edges to the central line.
Step 5

To keep it symmetrical, fold the second bottom edge towards the centre too, to create this tall triangular shape.
Step 6

Fold down the wide triangular shape at the top along its base edge.
Step 7

Unfold all the three recent folds to see this triangular crease pattern.
Step 8

Lift the top layer of paper and fold it upwards along the horizontal crease you just created in the last few steps.
Step 9
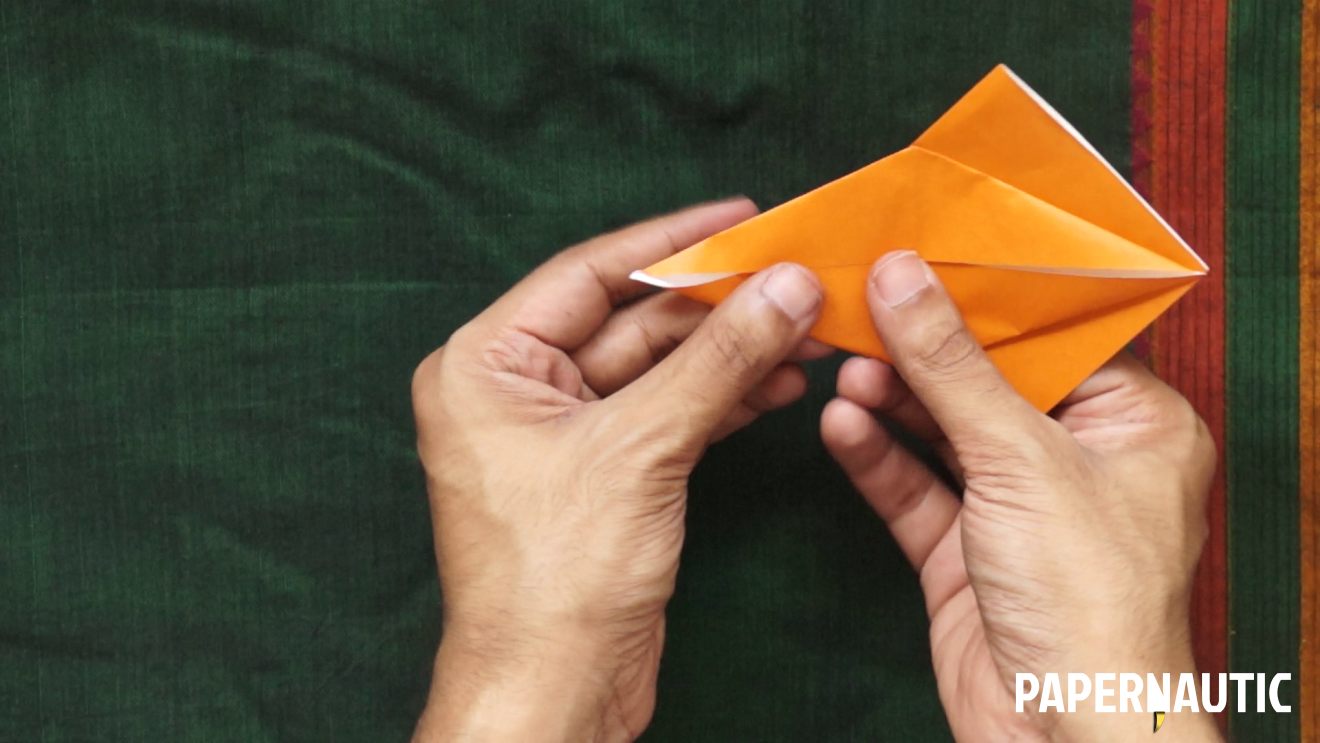
This will open up the model and the side edges will fold down into this very long diamond shape.
Step 10

Now flip the model over and repeat steps 4-9 on the other side. You'll end up with this even longer diamond shape, with one half split down the central line.
Step 11

The other half has flaps that you can fold downwards. This is your Bird Base.
Step 12

Fold both wing shapes flat to create this stubbier diamond.
Step 13

Unfold one of the wing-flaps so you see this shape. The short triangle in the centre should be pointing left.
Step 14

Fold it down in half along the long central line.
Step 15

Fold the bottom-left slanted edge up along the vertical centre line.
Unfold it, and use the crease to outside-reverse fold that top layer like so.
Step 16
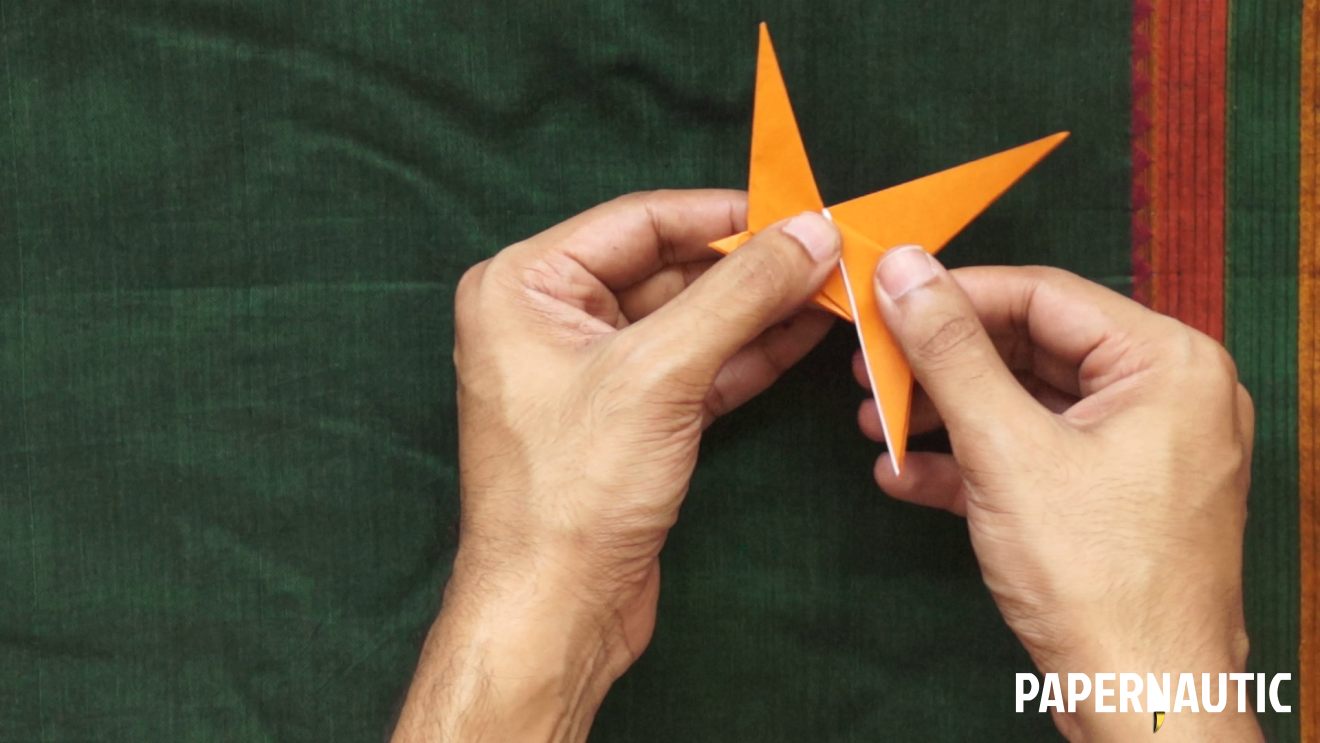
The right side of the model now has 3 flaps. Lift the topmost layer and fold it downwards along the vertical centre line, like this.
Step 17

Flip the model over and repeat on the other side.
Step 18

The two flaps you just folded will form the legs. To strengthen them, unfold both and do an inside-reverse fold along the creases you created.
Step 19

Now to create the complex joints of the dinosaur's leg, we'll inside-reverse fold a few times. Start with folding backwards, inside-reverse, at an angle like this. repeat on the other leg.
Step 20

Now inside-reverse fold the tip forward to form the feet with a flat edge at the bottom for it to stand on. Repeat on the other leg.
Step 21
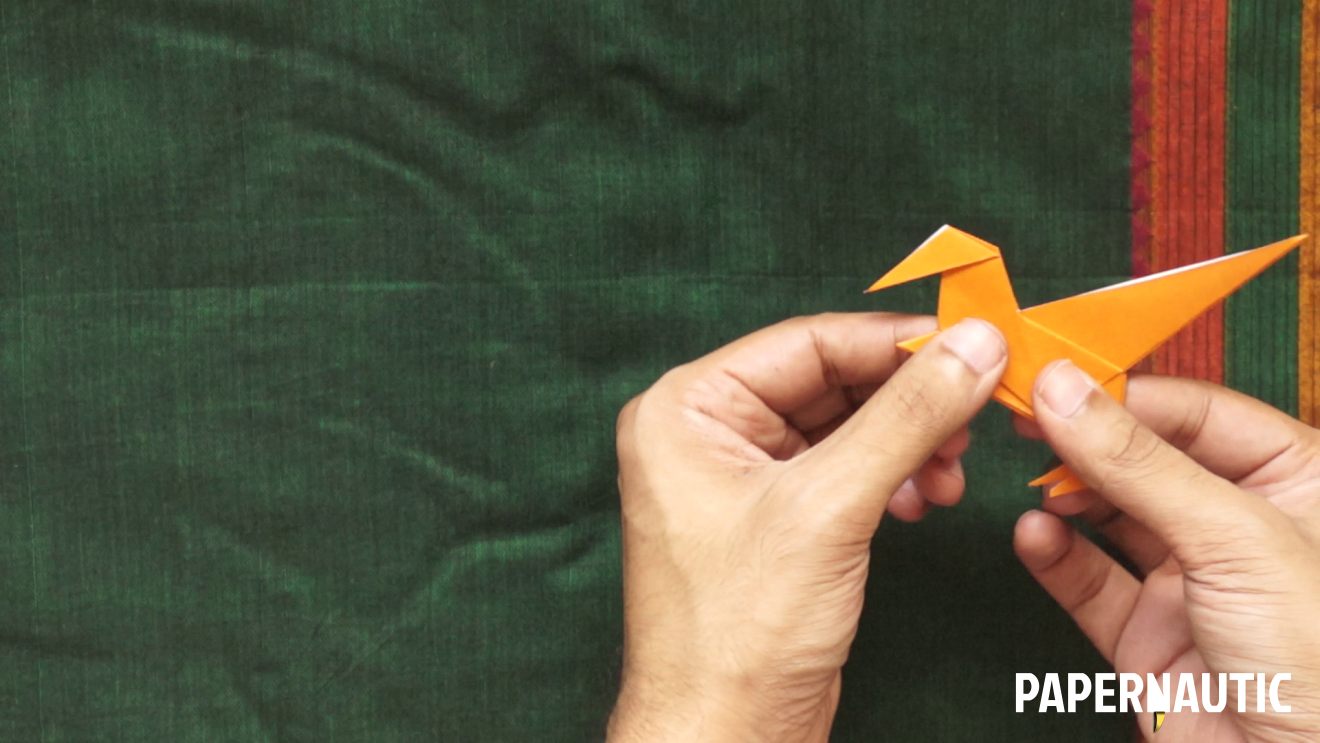
The top-pointing flap which you folded first will form the neck. Fold the top half forward in an outside-reverse fold to form the head.
Step 22
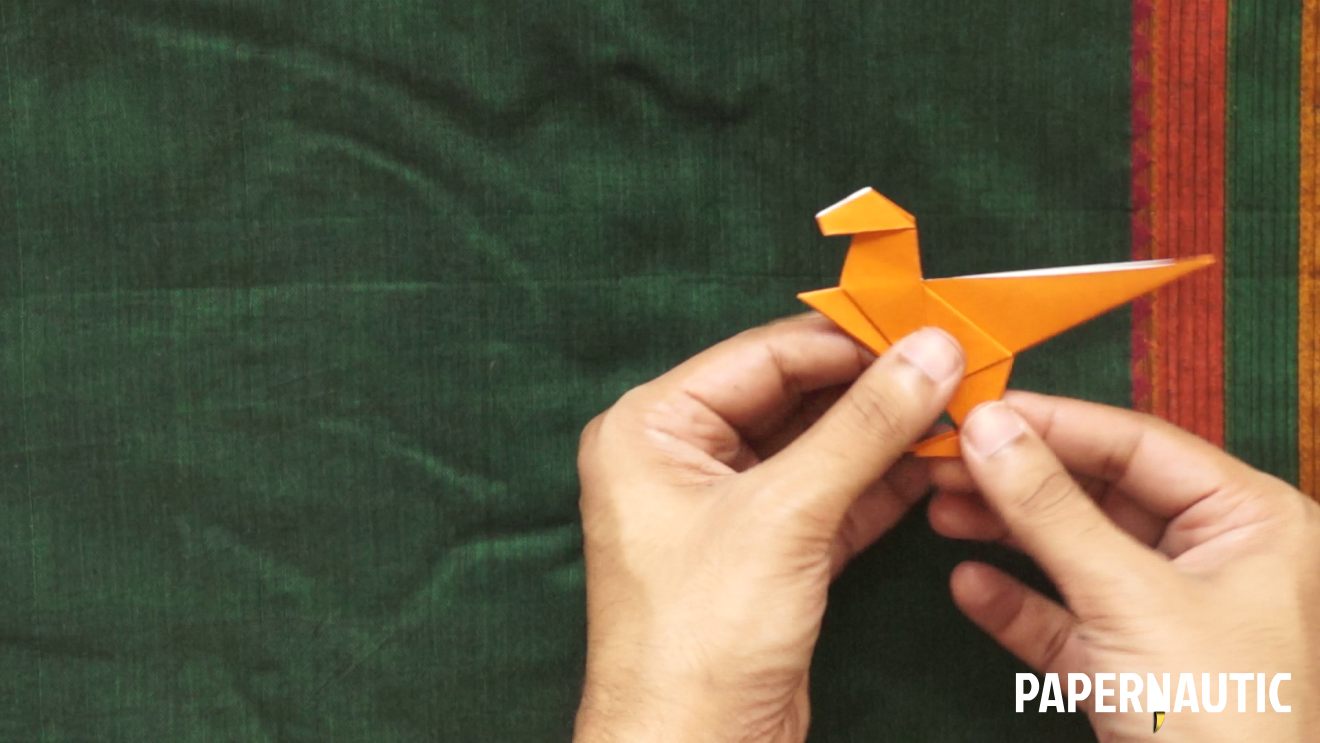
Fold the pointed end of the head in, and under the head to give the dinosaur a flat snout.
Step 23

Fold the stubby point at the base of the neck downwards, using an inside-reverse fold to create short claw-like hands.
Step 24

Tighten up all the folds, spread the legs apart a little to allow the model to stand, and your paper dinosaur is ready to roar.
P.S. Please subscribe to Papernautic on YouTube to keep track of the latest videos and tutorials.
How to Make a Origami Dinosaur Velociraptor
Source: https://papernautic.com/instructions/easy-origami-paper-dinosaur-video/
0 Response to "How to Make a Origami Dinosaur Velociraptor"
Post a Comment